Guide · Solo photos
How to take good photos of yourself when no one's around
No tripod, no friend, no stranger you have to trust with your phone. Just a ledge, a timer and a plan.
 By Gül Eda Aydemir6 min read
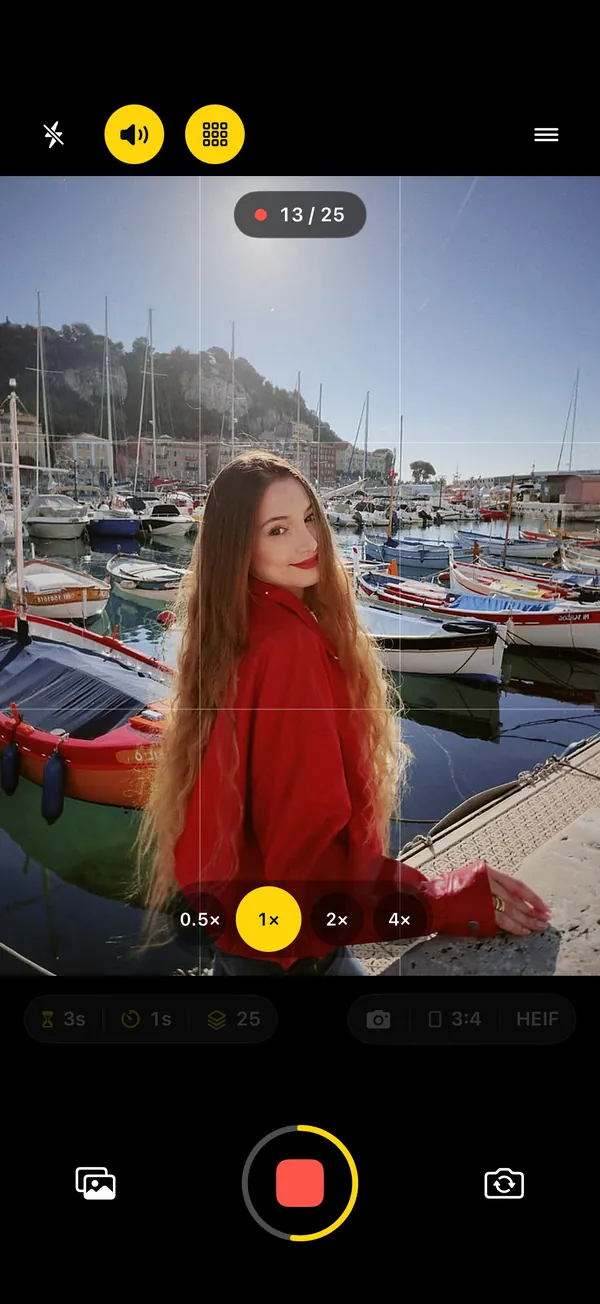
- Prop your iPhone at chest height on anything stable, with the back camera facing you.
- Frame the spot where you'll stand, then turn on the grid and level guide.
- Set a 10 second start delay, a 3 second interval and 25 photos.
- Pose and change position a little on every frame. Let the camera keep going.
- Restart from where you stand: in SHOOTS, raise your palm or say “Cheese” for take two. No walk back to the phone.
- Pick two or three keepers and delete the rest the same day.
Asking a stranger to take your photo has a success rate of roughly one good frame per brave request. Your friends are busy, your partner holds the phone like a remote control, and the selfie arm is only flattering from one angle. The good news: the iPhone in your pocket is already a very capable photographer. It just needs somewhere to stand and someone to press the button for you, many times in a row.
This guide walks through the setup we use for solo photoshoots, from where to lean the phone to how to pose when nobody is around to shout "chin down!" at you. It works with any timer camera. We'll show the settings in SHOOTS, the hands-free camera we make, because that's what it was built for.
1. Find a place for the phone
The phone needs to be still, at the right height and out of the way of passers-by. In order of how often they save the day:
- A ledge or wall at chest to waist height. Wedge the phone upright against something, or lay it on a bag so the lens just clears the edge.
- A café table with the phone leaning against a glass or a sugar jar. Great for seated portraits.
- Your bag or backpack on a bench, phone tucked in the top. It's soft and adjustable.
- A small phone tripod or a clamp. Worth it if you shoot often; it also keeps the horizon straight.
Chest height is the sweet spot for full-body photos: shooting from too low makes you look tall but adds chins, and shooting from eye level shortens your legs. For portraits from the waist up, raise the phone to roughly eye level.
2. Frame the shot before you step in
Stand where you're going to pose and put something there as a placeholder, or just remember the spot. Then frame from the phone:
- Leave space above your head and below your feet. You can always crop; you can't add.
- Turn on the rule-of-thirds grid and put yourself on one of the vertical lines, not dead center.
- Turn on the level guide. A tilted horizon is the number one tell of a propped-up phone. In SHOOTS the horizon line lights up when the phone is level.
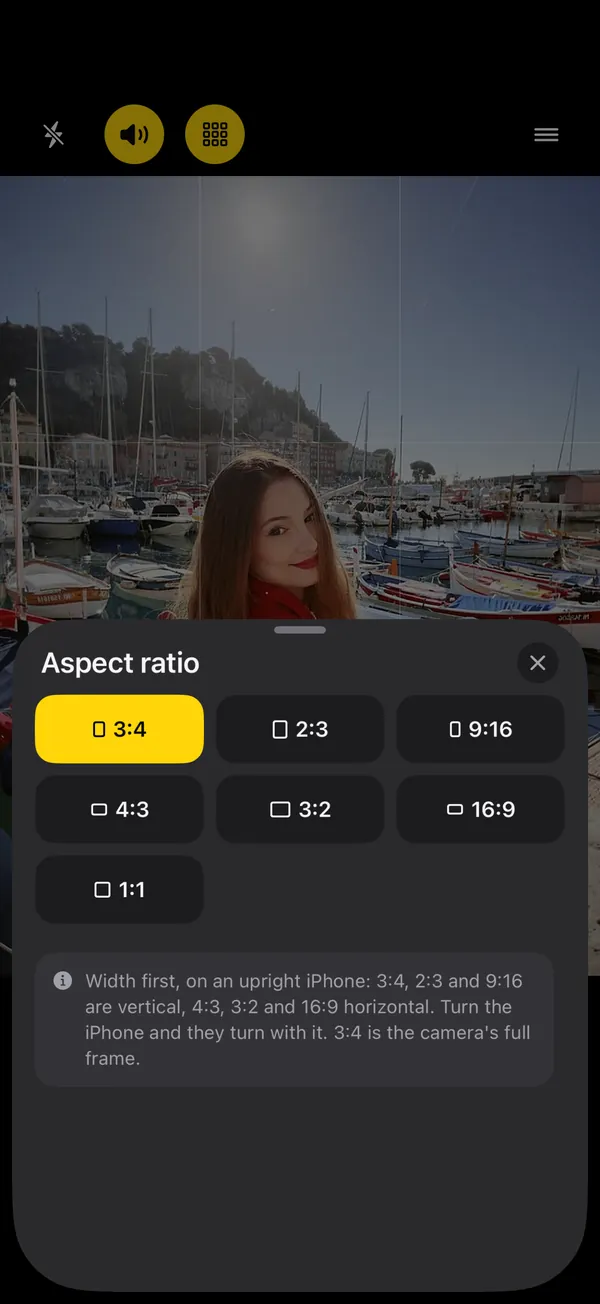
- Pick the aspect ratio you'll post in. 3:4 is the camera's full frame; 9:16 is a full-screen story; 4:5 crops are easy from 3:4.
- Tap to focus where you'll stand, and touch and hold to lock focus and exposure so the camera doesn't refocus on the background when you walk in.
3. Set the timer like a photographer would
The built-in iPhone Camera app has a self-timer, but it's built for one moment: a short countdown, then one shot (a photo, a Live Photo or a short burst, depending on your settings). That's fine for a group shot. For a solo shoot you want the camera to keep going while you move, which is what interval shooting does: one photo every few seconds, for as long as you tell it.
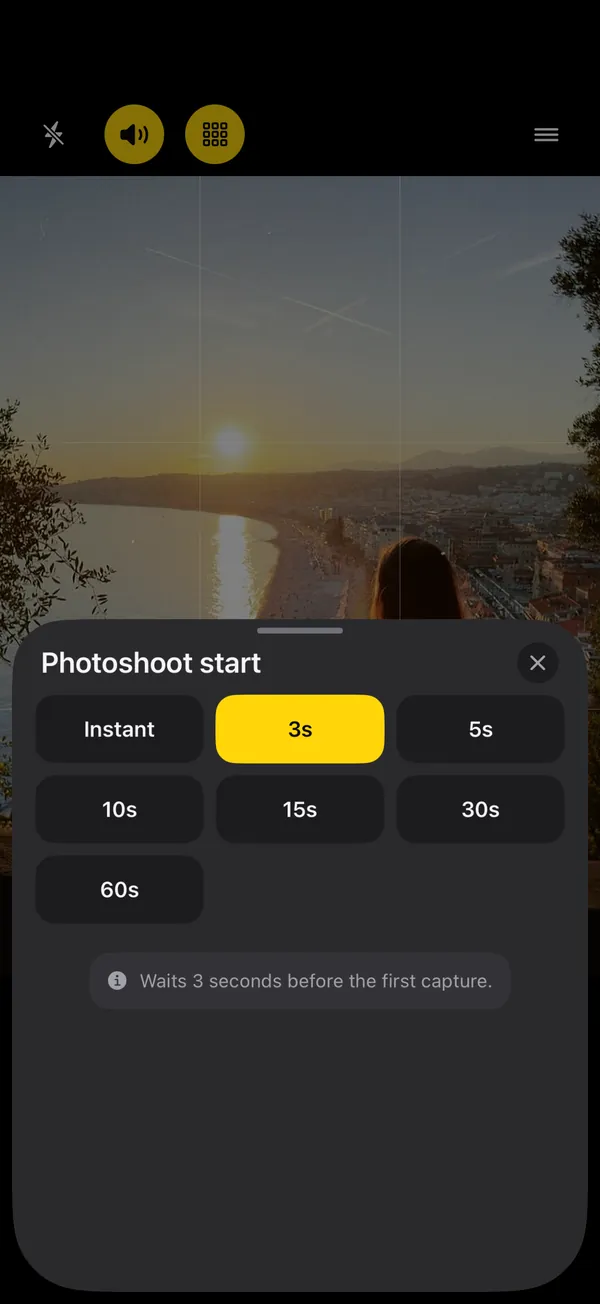
- Photoshoot start
- 10 s
- Timer mode
- every 3 s
- Photo limit
- 25 photos
- Shutter sound
- Paparazzi
- Countdown beeps
- On
Why these numbers: 10 seconds is enough to walk five or six steps and settle. 3 seconds between photos is enough to shift your weight, turn your head or move a hand, but short enough that you stay in the flow. 25 photos is about a minute and a quarter of posing, which is roughly how long people stay natural before they start to look stiff.
One more setting worth turning on: Hands-free start, inside Photoshoot start. With Raise your palm on, you hold an open hand up to the camera until the ring fills; with Say “Cheese” on, SHOOTS listens while the camera waits (it recognizes “Cheese” in English, on the device). Either way the shoot counts down at least 3 seconds, so you can drop your hand and pose. It means the first shoot starts when you are ready, and take two starts without walking back. All the other ways to start without touching the phone are in How to start a photoshoot hands-free.
Adjust from there:
- Walking, twirling, hair flips: 1 second, or a burst interval if you have SHOOTS+.
- Slow, careful poses or changing outfits between frames: 5 to 10 seconds.
- Golden hour, where the light changes: 30 seconds or 1 minute, and a bigger photo limit.
4. Pose when nobody is directing you
The hardest part of solo photos isn't the phone, it's not having anyone to react to. A few tricks that work on a timer:
- Move a little on every beep. Weight from one foot to the other, chin left, chin right, hand to hair, hand to pocket. Small changes give you 25 different photos instead of one photo 25 times.
- Look away more than you look at the lens. Candid-looking frames come from looking at something real: the view, your coffee, your shoes.
- Walk towards the camera. Start a few steps back and walk slowly towards the phone on a 1 second interval. Mid-step frames almost always look natural.
- Breathe out on the click. Tension shows in the shoulders. Exhale, drop your shoulders, then hold.
- Let a voice direct you. SHOOTS tells you when the shoot starts and ends for free. With SHOOTS+, turn on Talk to me and choose the Pose coach: between shots a photographer's voice calls your next pose for how you're framed ("Chin down, just a little.", "Now walk toward me."), so you never run out of ideas. Prefer cheering? Choose Compliments ("Okay, that one's going on the cover."), or Both. It sounds silly. It works. More in Never run out of poses.
The goal isn't one perfect photo. It's twenty-five honest attempts and two you love.
5. Make the light do the work
- Face the light: window light or open shade is the most flattering light there is.
- Golden hour (the hour after sunrise and before sunset) forgives everything.
- At night, use the flash on purpose. Flash On, close to the camera, gives you that hard-edged, red-carpet, early-2000s look. It's a vibe, not a mistake. See Be your own paparazzi.
- Avoid standing with a bright sky directly behind you unless you want a silhouette.
6. Pick the keepers, then clean up
A solo shoot leaves you with a lot of near-identical photos. Deal with them the same day while you still remember which pose felt right:
- Open the shoot in the gallery. In SHOOTS every photoshoot gets its own album, so you aren't scrolling through your whole camera roll.
- Heart your two or three favorites, drag across the thumbnails to select the misses and delete them. They wait in Trash for 30 days in case you change your mind.
- Save the keepers to Photos. If you post carousels, DUMP turns them into a ready-to-post photo dump in a minute.
- Once a week, sweep the camera roll with Solo.Swipe, so a few good shoots don't become 4,000 forgotten photos.

Common mistakes
- Phone too low. Raise it to chest height or tilt it up slightly.
- Focus on the background. Lock focus on your spot before you walk in.
- Same pose 25 times. Move on every beep.
- Stopping after one try. The second shoot is always better: you know where the frame ends.
Questions people ask
How do I take a picture of myself without holding the phone?
What's the best timer setting for solo photos?
Can I see the photo before it's taken?
Can I start the timer without walking back to the phone?
Do I need a tripod?
Gül Eda Aydemir is the independent iOS developer behind SHOOTS, DUMP and Solo.Swipe. She designs, builds and answers support for every app herself. Say hi at solostaseraofficial@gmail.com.
Prop up your iPhone, step into frame and let SHOOTS run the whole photoshoot.
Download on theApp Store
On a computer?Scan with your iPhone camera
Keep reading
How to take more than one photo on an iPhone timer (and space them out)
Apple’s timer counts down and shoots one moment. Here’s how to squeeze more out of it, and when to switch to an interval camera.
Gül Eda Aydemir · 7 min read
How to start a photoshoot without touching your phone
The worst part of a timer shot is the sprint from the phone to your spot. Here are all the ways to skip it, with Apple’s Camera and with SHOOTS.
Gül Eda Aydemir · 7 min read
How to use your Apple Watch as a camera remote
Apple’s free Camera Remote app is genuinely good. Here’s how to use it, where it stops, what a hands-free interval remote adds, and what to do when there’s no Watch (or the camera is an iPad).
Gül Eda Aydemir · 8 min read