Guide · Hands-free start
How to start a photoshoot without touching your phone
The worst part of a timer shot is the sprint from the phone to your spot. Here are all the ways to skip it, with Apple’s Camera and with SHOOTS.
 By Gül Eda Aydemir7 min read
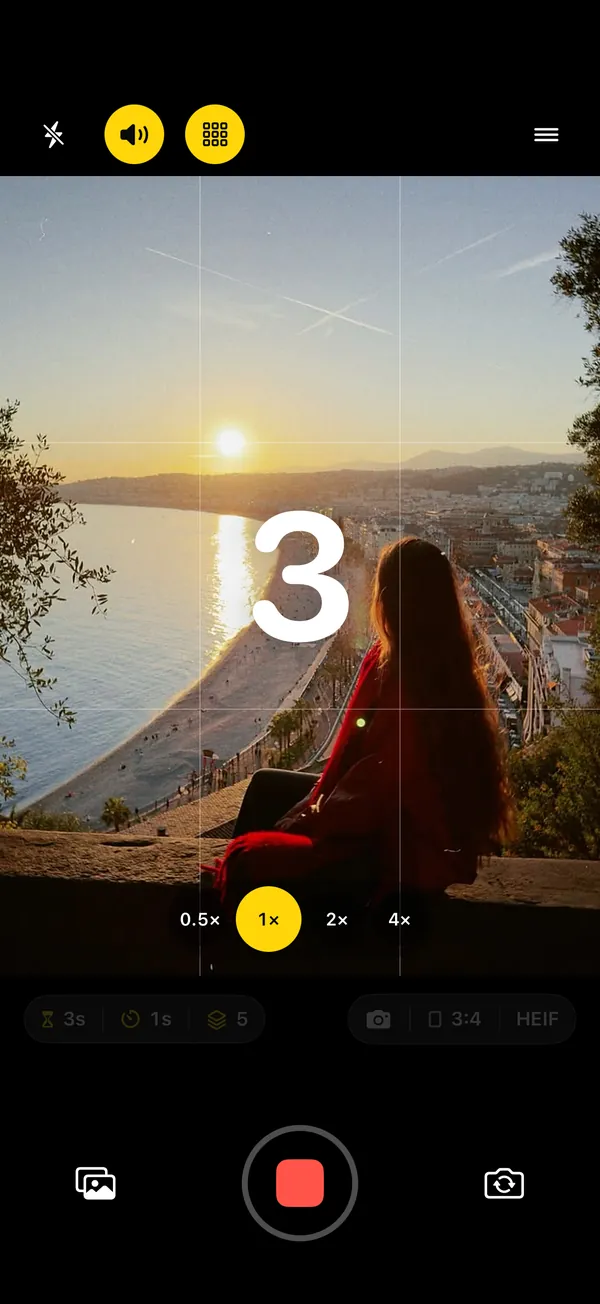
- Apple’s Camera app: press a volume button or click Camera Control to take the photo; from a distance use Camera Remote on Apple Watch or the stem of supported AirPods. On iPhone Duo, Smart Take shoots when you pose.
- SHOOTS, from your spot: raise your palm to the camera or say “Cheese”. The shoot counts down at least 3 seconds, then runs the whole series.
- SHOOTS, before you walk over: Siri (“Start a photoshoot with SHOOTS”), a widget, the Control Center control or a volume button.
- SHOOTS remotes: an Apple Watch (with iPhone), or a second iPhone or iPad. Everything above is free.
Every solo photo starts the same way: you frame the shot, press the button, and then sprint. Ten seconds later you’re in place, slightly out of breath, and the shutter has already gone. The fix is to start the camera from where you’re standing, once you’re actually ready. This guide covers every way to do that on an iPhone: what Apple’s own Camera app supports, and what SHOOTS, the hands-free camera we make, adds on top.
What Apple’s Camera app can do
From Apple’s iPhone and Apple Watch user guides, checked 24 October 2026 (iOS 27 and watchOS 27):
- Volume buttons. Apple’s Camera basics page says to tap the Shutter button or press either volume button to take a photo.
- Camera Control. On supported models, click Camera Control to open Camera, click again to take a photo, or click and hold to record video.
- The timer. 3, 5 or 10 seconds, then one shot (Use camera tools).
- Apple Watch Camera Remote. A live preview on your wrist and a shutter with a 3-second timer by default, within normal Bluetooth range, about 33 feet (10 m) (Apple Watch User Guide).
- AirPods. AirPods 4, AirPods 5, AirPods Pro 2, AirPods Pro 3 and AirPods Max 2 can take a photo in the Camera app or another supported camera app when you press (or press and hold) the stem, on iOS 26 or later. Set it up in Settings, under your AirPods’ name, then Camera Remote.
- Smart Take on iPhone Duo. Stand iPhone Duo on a stable surface, tap the Smart Take button and strike a pose or hold still: it takes up to 20 photos over a couple of minutes. Apple suggests it instead of the timer.
- Siri. Apple’s guide gives “Open Camera” as the Siri example. It doesn’t describe Siri taking the photo.
That’s a good toolkit, and if you have a Watch, AirPods or an iPhone Duo, it may be all you need. What it doesn’t give you on other iPhones: a way to start from your spot without extra hardware, or a series of photos on a gap you choose. That’s where the rest of this guide comes in.
Raise your palm (SHOOTS, free)
The most natural signal there is: you’re in place, you hold up your hand, the camera starts.
- Turn it on. Open the Photoshoot start sheet and, under Hands-free start, switch on Raise your palm.
- Set the plan. Timer mode and Photo limit as usual, for example a photo every 3 seconds, 25 photos. More on that in Interval shooting on iPhone.
- Walk to your spot. The camera waits.
- Hold an open hand up to the camera for a moment, until the ring fills (about 0.7 seconds).
- Lower your hand and pose. Hands-free starts always count down at least 3 seconds, even if your Photoshoot start is Instant.
It works best within a few meters and in good light, with your palm facing the lens and held still. The camera frames are looked at on the iPhone itself (with Apple’s Vision framework); nothing is uploaded.
Say “Cheese” (SHOOTS, free)
The word everyone already says before a photo now actually starts one.
- Turn on Say “Cheese” under Hands-free start (you can have it on together with the palm).
- SHOOTS listens only while the camera is waiting to start. Say “Cheese”, and the countdown begins (at least 3 seconds).
- “Cheese” is recognized in English, on the device: speech never leaves your iPhone. It needs microphone and speech recognition access; if your iPhone can’t recognize speech on the device, SHOOTS tells you, and the palm is the way to go.
- Best for: group photos (somebody always says it anyway), dim rooms where a palm is hard to see, and moments when your hands are full.
- Less good for: loud streets and windy beaches. Use the palm there.
Siri and Shortcuts (SHOOTS, free)
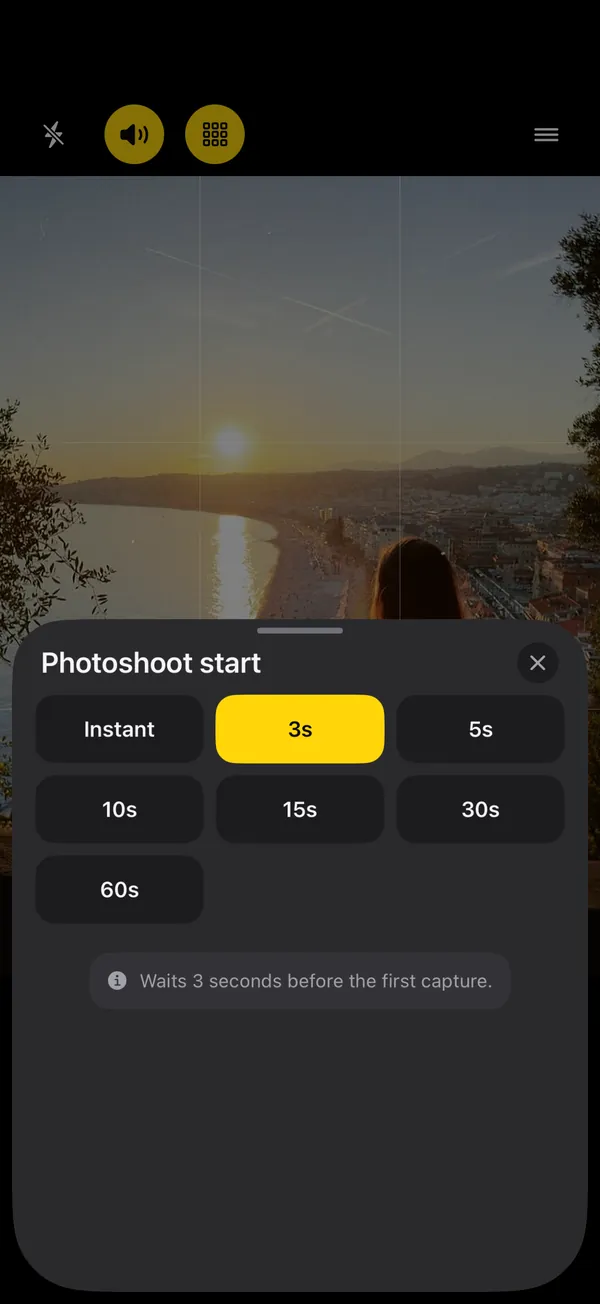
Say “Start a photoshoot with SHOOTS”. Siri opens the camera and starts a shoot with the plan on screen (delay, interval, photo limit), as the shutter would, counting down at least 3 seconds so you have time to put the phone down and pose. “Stop the photoshoot in SHOOTS” ends it. Siri understands the phrase in your device’s language. Because Siri opens the app, a locked iPhone may ask to be unlocked first, so this works best when you set the phone up and then speak.
In the Shortcuts app you’ll find Start Photoshoot and Stop Photoshoot actions, with options for the capture mode, the front or back camera and a timer from 3 to 60 seconds. Build one for your favorite setup (“front camera, 10 seconds”) and run it with one tap from the Shortcuts app or your Home Screen.
Widgets, Lock Screen and Control Center (SHOOTS, free)
One tap opens the camera and starts a photoshoot with your current plan.
| Where | What you get |
|---|---|
| Home Screen | Small “Start”, medium “Quick Starts” (back or front camera) and small “Shutter” (the SHOOTS star) |
| Lock Screen | Circular, rectangular and inline widgets |
| Control Center | A “Start Photoshoot” control |
| Looks | Black & Yellow, Black & White or White & Black |
These still mean touching the phone once, but only once, and without hunting for the app: tap, put the phone down, walk. Pair one with a 10 or 15 second Photoshoot start. (We don’t have screenshots of the widgets yet, so you’ll have to take our word for the yellow.)
Volume buttons and Camera Control
On the SHOOTS camera screen, a volume button, or Camera Control on iPhones that have it, works the shutter once SHOOTS is open: press once to start the shoot, again to stop, again to resume. Handy with a phone clamp where the screen is awkward to reach, and with gloves on. It’s the same habit you know from Apple’s Camera, except one press starts a whole series instead of one photo.
Remotes: Apple Watch, iPhone or iPad
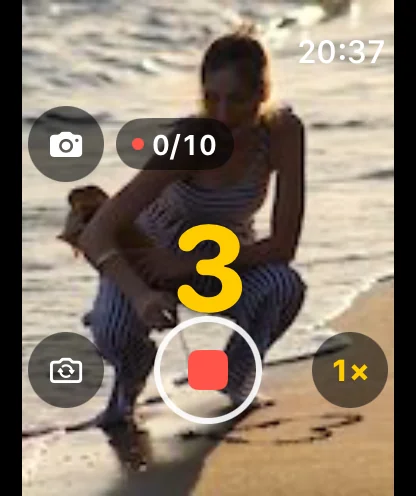
- Apple Watch (with iPhone). The SHOOTS Watch app starts, stops and resumes the shoot, zooms with the Digital Crown, flips cameras and switches mode and flash, all free. The live viewfinder on the Watch is SHOOTS+. Apple Watch pairs with an iPhone, so there’s no Watch remote for SHOOTS on iPad. Full guide: Apple Watch camera remote.
- A second iPhone or iPad. Turn on “Another iPhone or iPad as remote” on the camera (Menu → Remote), then “Use this device as a remote” on the other one and tap Allow once on the camera. Controls are free; the live picture is SHOOTS+. Step by step: Use an iPad or second iPhone as your camera remote.
Which one when
| Situation | Best start |
|---|---|
| Solo, good light, phone a few meters away | Raise your palm |
| Group photo | Say “Cheese” |
| Dim room or night | “Cheese”, or a remote |
| Loud street, wind, waves | Palm or Apple Watch |
| Setting up in a hurry | Widget, Control Center or Siri with a 10–15 s delay |
| Phone far away or up high | Apple Watch or a second iPhone or iPad |
| Just one photo in Apple’s Camera | Watch Camera Remote, AirPods, or the timer |
Tips that save a reshoot
- Check Silent Mode. SHOOTS’ sounds follow the Silent switch, and it tells you when Silent Mode is on. Turn it off if you want to hear the countdown beeps and the “Here we go” announcement from across the room.
- Frame first, then walk. A hands-free start doesn’t fix a crooked horizon. Turn on the grid and level before you leave the phone; see No tripod? Prop your phone like this.
- Lock focus on your spot. Touch and hold where you’ll stand, so the camera doesn’t focus on the background when you walk in.
- Use the countdown. Those 3 seconds are for dropping your hand, breathing out and turning your chin. Then let the interval do the rest.
- Let a voice take it from there. With SHOOTS+, the Pose coach calls your next pose between shots, so you don’t have to plan 25 frames in your head. See Never run out of poses.
Ready when you are. Not when the timer says so.
New to shooting yourself? Start with How to take good photos of yourself when no one’s around. When the shoot is done, every session lands in its own album in the SHOOTS gallery; turn the keepers into a carousel with DUMP and clear the rest with Solo.Swipe.
Questions people ask
How do I take a picture on iPhone without touching the screen?
Can my iPhone take a photo when I raise my hand?
Does saying “Cheese” take a photo on iPhone?
Can Siri start a self-timer photo?
Is the hands-free start free in SHOOTS?
Gül Eda Aydemir is the independent iOS developer behind SHOOTS, DUMP and Solo.Swipe. She designs, builds and answers support for every app herself. Say hi at solostaseraofficial@gmail.com.
Prop up your iPhone, step into frame and let SHOOTS run the whole photoshoot.
Download on theApp Store
On a computer?Scan with your iPhone camera
Keep reading
How to take good photos of yourself when no one's around
No tripod, no friend, no stranger you have to trust with your phone. Just a ledge, a timer and a plan.
Gül Eda Aydemir · 6 min read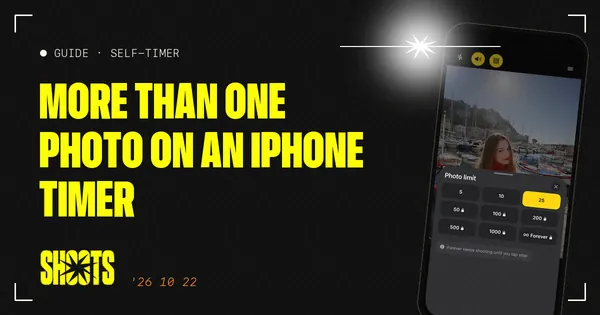
How to take more than one photo on an iPhone timer (and space them out)
Apple’s timer counts down and shoots one moment. Here’s how to squeeze more out of it, and when to switch to an interval camera.
Gül Eda Aydemir · 7 min read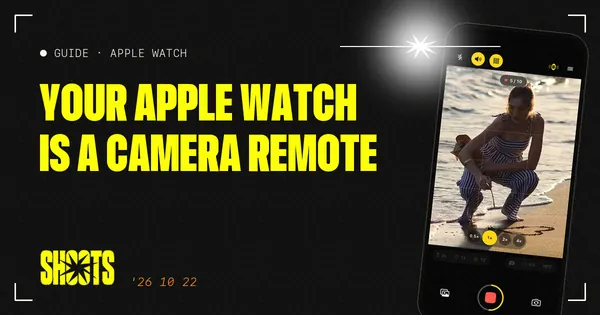
How to use your Apple Watch as a camera remote
Apple’s free Camera Remote app is genuinely good. Here’s how to use it, where it stops, what a hands-free interval remote adds, and what to do when there’s no Watch (or the camera is an iPad).
Gül Eda Aydemir · 8 min read