Guide · Outfits
How to shoot outfit photos at home by yourself
Your hallway is a studio. All you need is a window, a plain wall and a phone that keeps clicking.
 By Gül Eda Aydemir6 min read
- Skip the mirror unless the mirror is the look. Prop the phone between waist and chest height, back camera facing you, a few steps away.
- Face a window with a plain wall behind you. Turn off the ceiling light.
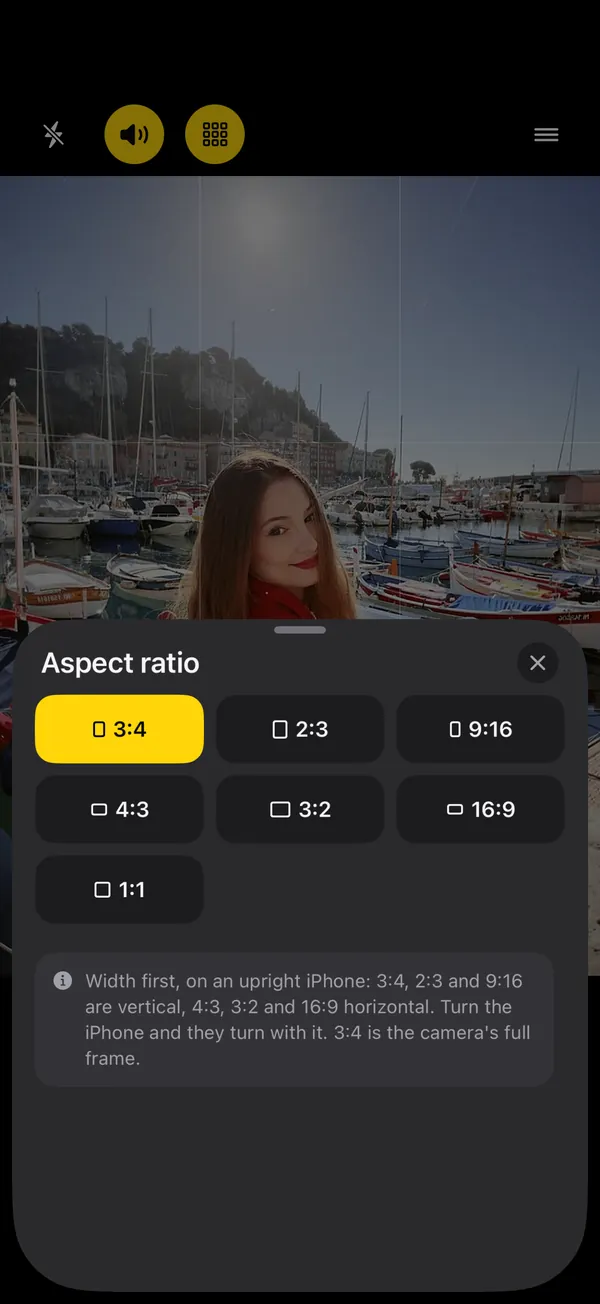
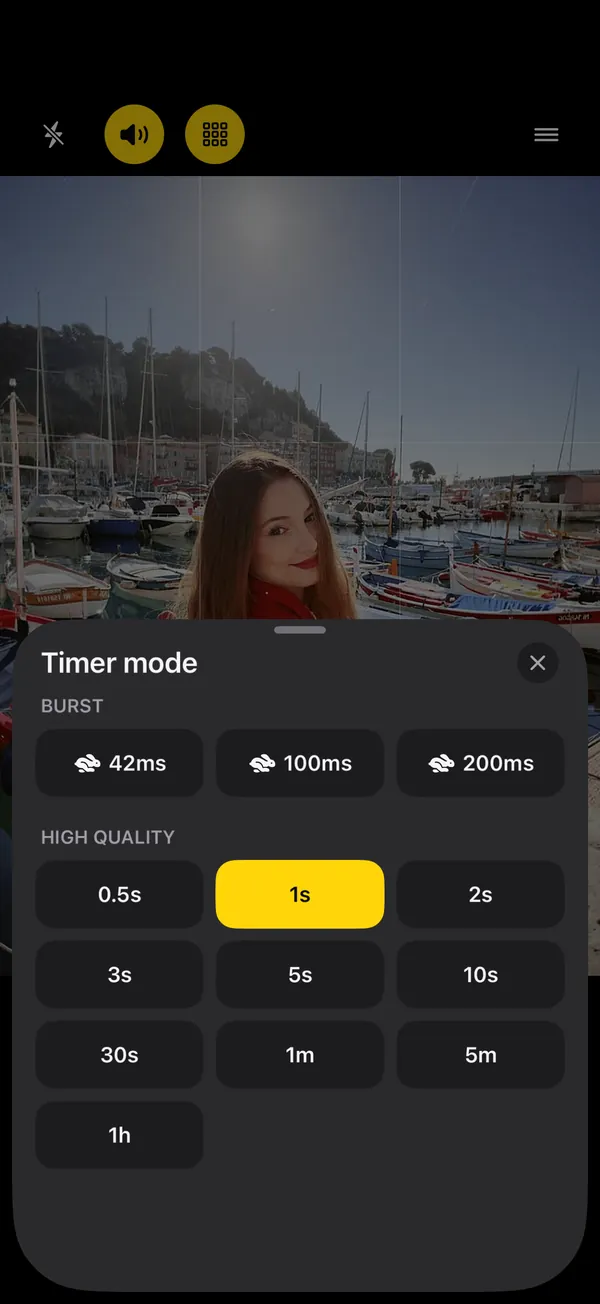
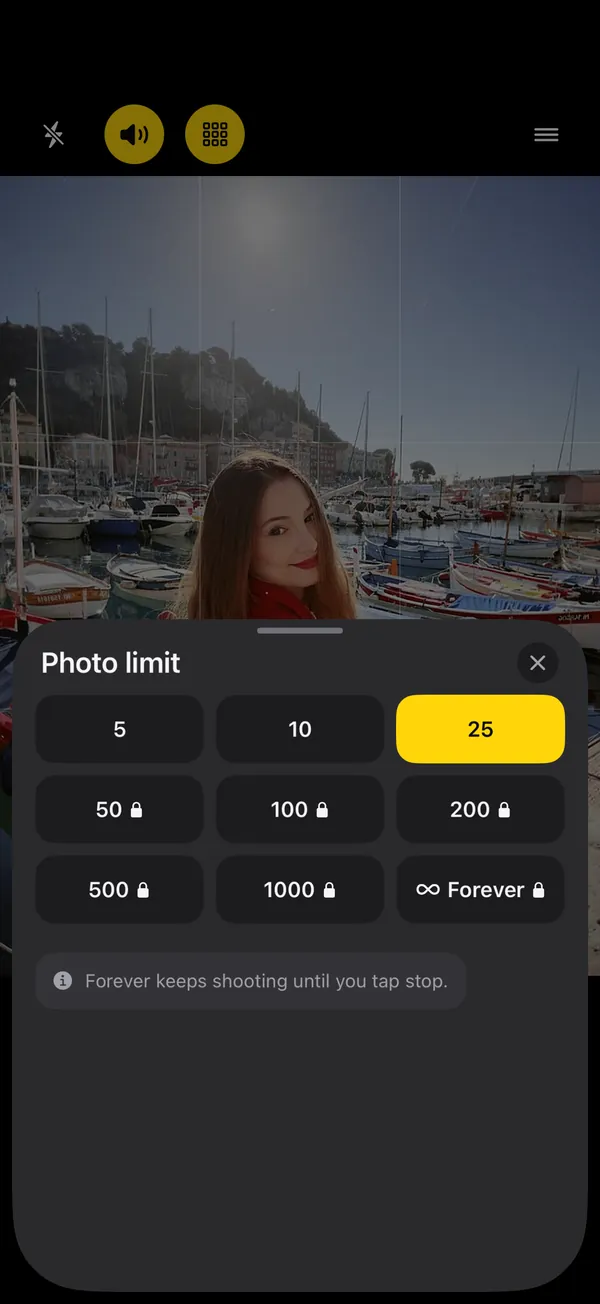
- Set it up: 10 s start delay, a photo every 5 s, 25 photos, 3:4 or 9:16.
- Changing outfits? Shoot one short shoot per outfit (start each one by raising your palm, or from your Apple Watch), or set a 30 s to 1 min interval and change pieces between frames.
Outfit photos are the one kind of photo you almost always take alone. Nobody is going to stand in your hallway for twenty minutes while you try three jackets. The mirror is right there, but mirror selfies hide your face, cut off your shoes and come with fingerprints. Here’s how to get a clean, full-length outfit photo at home, by yourself, in about ten minutes.
Mirror or propped phone?
| Mirror selfie | Propped phone + timer | |
|---|---|---|
| Setup | None | A minute to prop and frame |
| Your face | Usually behind the phone | Fully visible |
| Hands | One holds the phone | Both free: pockets, bag, hair |
| Full length | Depends on the mirror | Head to toe, any angle you choose |
| Image quality | Through glass, often smudged | Straight through the back camera |
| Vibe | Casual, “fit check” | Editorial, ready to post |
Mirror selfies have their place: they’re fast and the phone is part of the look. If you go that way, clean the mirror first, hold the phone at chest height and a little to one side so it doesn’t cover your face, and shoot with the back camera into the mirror. For everything else, prop the phone.
Find your light
- Face the window, or stand at a slight angle to it. Window light is soft, even and flattering, and it shows fabric texture well.
- Turn off the ceiling light. Mixing warm bulbs with daylight gives you orange shadows and blue highlights.
- Don’t stand with the window behind you. You’ll turn into a silhouette.
- Shoot during the day when you can. Late afternoon light through a window is the prettiest of all.
- After dark, commit to the flash. Flash On, plain wall behind you, and you get the hard-edged, paparazzi-style outfit shot. It’s a look, not a mistake. See Be your own paparazzi.
The background matters as much as the light. A plain wall, a door or a curtain beats a messy bedroom every time. Thirty seconds of moving the laundry out of frame is the best editing you’ll ever do.
Get the height and distance right
- Height: put the lens between your waist and your chest. Lower than that and the camera looks up at you; higher and your legs get shorter.
- Keep the phone upright and level. Tilting it up or down bends door frames and walls. In SHOOTS, turn on the level guide in Settings, under Framing: the horizon line lights up when the phone is level.
- Distance: step back until you fit head to toe on the 1× lens with a little space above your head and below your feet.
- Small room? Shoot diagonally, corner to corner. If you still don’t fit, use 0.5×, but stand near the middle of the frame: ultra-wide lenses stretch whatever is near the edges, feet included.
Nothing to stand the phone on at the right height? A chair with a stack of books, a shelf, an ironing board (adjustable!) or a laundry basket all work. Our guide to propping your phone without a tripod has more ideas.
The settings for outfit photos
- Photoshoot start
- 10 s
- Timer mode
- every 5 s
- Photo limit
- 25 photos
- Aspect ratio
- 3:4
- Shutter sound
- Beep
- Countdown beeps
- On
Why 5 seconds: outfit poses involve bigger moves than a portrait: turning to show the side, showing the back, reaching for a bag. Five seconds gives you time to move and settle. Why Beep: it plays one beep the moment each photo is taken, so you know exactly when to hold still. Why 3:4: it’s the camera’s full frame and crops easily to a 4:5 feed post. Shooting for stories or reels covers? Pick 9:16 before you start.
Quick outfit changes
The whole point of shooting at home is trying a few looks. Three ways to do it without walking back and forth to the phone every time:
- One short shoot per outfit. Leave the phone exactly where it is. Change, walk back to your spot and start the next shoot from there: raise your open palm to the camera or say “Cheese” (turn on Hands-free start in Photoshoot start), or tap start on your Apple Watch. All free. Every outfit lands in its own album in the gallery, so comparing looks later is easy.
- A long interval for small swaps. Set Timer mode to 30 s or 1 min and swap one piece between frames: jacket on, jacket off, different bag, different shoes. With 25 photos at 1 minute, that’s 25 minutes of try-on with no button presses at all.
- Forever, for a full try-on session. With SHOOTS+, the Photo limit can be Forever, which keeps shooting until you tap stop.
Because the phone never moves, every outfit is shot from the same angle in the same light. That makes side-by-side comparisons honest, and makes a very satisfying carousel.
Outfit poses that show the clothes
- The walk: start a few steps back and walk toward the phone on a 1 second interval. Movement makes fabric look alive.
- Look down at your shoes, or to the side. Candid-looking frames beat staring at the lens.
- Hands in pockets, hand on the bag strap, one hand in your hair. Give your hands a job.
- The side profile and the back: outfits have backs. Show the details.
- Sit: on a chair, the stairs, the floor. Sitting shows how clothes actually drape.
- Details: switch to 2× and shoot the shoes, the bag, the jewelry.
Out of ideas halfway through the rail? With SHOOTS+, the Pose coach (Talk to me → Coaching) calls the next pose between shots, and when your legs are in the picture it picks full-body ones: “Hand on your hip.”, “Cross one leg in front of the other.”, “Give me a spin!” More in Never run out of poses and 12 poses that work on a self-timer.
Same spot, same light, five outfits. That’s not a mess, that’s a lookbook.
Pick, post, clean up
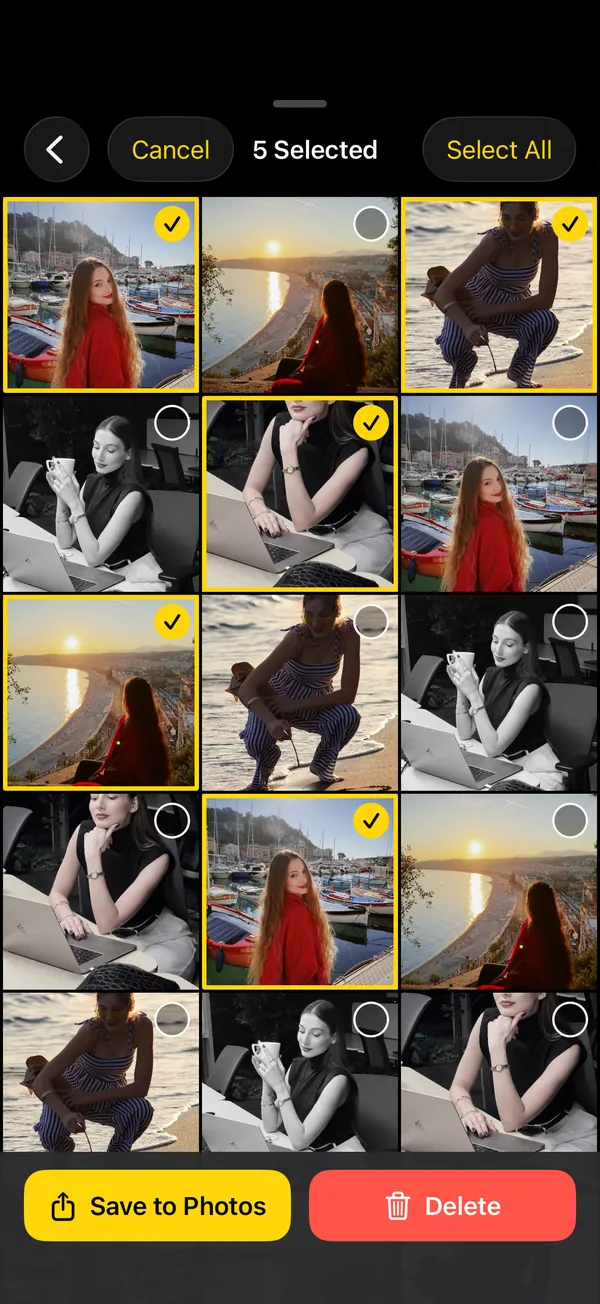
Open each outfit’s shoot in the gallery, heart the best two or three, and drag across the rest to select and delete them (they wait in Trash for 30 days). Save the keepers to Photos, then build an outfit carousel in DUMP, which picks the sharpest, most varied shots and puts them in order for you. Your camera roll gets a weekly sweep in Solo.Swipe.
Shooting outside instead? The same settings work on the street: see How to take good photos of yourself when no one’s around.
Questions people ask
How do I take full-body outfit photos at home without a mirror?
What height should the phone be for outfit photos?
Mirror selfie or timer: which is better for outfit photos?
How do I take outfit photos in a small room?
How many photos should I take per outfit?
Gül Eda Aydemir is the independent iOS developer behind SHOOTS, DUMP and Solo.Swipe. She designs, builds and answers support for every app herself. Say hi at solostaseraofficial@gmail.com.
Prop up your iPhone, step into frame and let SHOOTS run the whole photoshoot.
Download on theApp Store
On a computer?Scan with your iPhone camera
Keep reading
How to take good photos of yourself when no one's around
No tripod, no friend, no stranger you have to trust with your phone. Just a ledge, a timer and a plan.
Gül Eda Aydemir · 6 min read
How to take more than one photo on an iPhone timer (and space them out)
Apple’s timer counts down and shoots one moment. Here’s how to squeeze more out of it, and when to switch to an interval camera.
Gül Eda Aydemir · 7 min read
How to start a photoshoot without touching your phone
The worst part of a timer shot is the sprint from the phone to your spot. Here are all the ways to skip it, with Apple’s Camera and with SHOOTS.
Gül Eda Aydemir · 7 min read