Guide · Setup
No tripod? Places and tricks to prop your phone for photos
Anything that holds still is a tripod, if you’re a little creative and a little stubborn.
 By Gül Eda Aydemir5 min read
- Best everyday props: a wall or ledge at chest height, your bag, a glass or bottle on a café table, a stack of books.
- Wedge it: something under it, something behind it, something stopping it from sliding. Tilt it back slightly.
- Level it with the level guide before you step away.
- Never prop it over water, a drop or a busy path, and stay within a few steps.
- A cheap phone clamp or mini tripod fixes almost everything else.
Tripods are great, right up until you’re out for the day and yours is at home. Good news: most of the best solo photos ever taken on a phone were taken from a wall, a bag or a coffee cup. Here’s where to put your phone, how to keep it there, and how to make sure the photo comes out straight.
Outdoors
- Walls and ledges. The classic. At chest height they’re perfect for full-length photos. Lay the phone on the wall with the lens just past the edge, or stand it up against a stone and a bag.
- Your bag or backpack. Put it on a bench or the ground and tuck the phone into the top opening. It’s soft, grips the phone, and you can squash it to adjust the angle.
- Steps and stairs. One step is a low tripod; the step above is its backrest. Great for dramatic, low-angle shots on the 0.5× lens.
- Benches. Lean the phone against the backrest, or prop it on the armrest with your bag behind it.
- Railings and fences. Only with a clamp. Never balance a phone on a railing, especially one with a view, because views usually come with a drop.
- Rocks, tree stumps, fence posts. For hikes and beaches. Wedge the phone with smaller stones and keep it off the sand.
- The ground. Lay the phone almost flat, leaning on your sunglasses case or a shoe, for a low angle that makes legs and skies look endless.
At a café or restaurant
- A glass or bottle is the best phone stand ever invented. Lean the phone against it, with a napkin under the bottom edge so it can’t slide.
- A sugar jar, the menu holder, the napkin dispenser: anything heavy and upright.
- Your cup. Lean the phone on your mug and shoot yourself across the table. Hold the coffee for the photo.
Café portraits work best seated, from about eye level, with the window to your side. Ask the staff if you’re worried about blocking anyone; most people don’t mind for a minute.
At home
- Books on a chair. Stack them until the lens reaches the height you want. The most adjustable tripod in the house.
- Shelves and window sills. Instant waist or chest height.
- An ironing board. Its height adjusts, it’s stable, and it folds away. Honestly underrated.
- A laundry basket or a stool, with a book on top for fine-tuning.
- Doors. A closed door is a flat, vertical surface at every height. Push a chair against it, put books on the chair, and lean the phone back against the door: it can’t fall backward.
- Mirrors. Lean the phone on a dresser facing a big mirror and shoot your reflection hands-free. You get the mirror-selfie look, but with both hands free and the phone out of your face.
Shooting outfits at home? The light and height tricks are in How to shoot outfit photos at home by yourself.
Cheap gear that’s worth it
- A phone clamp or mini tripod with bendy legs. Wraps around railings, branches, chair backs and door handles. The single best upgrade for solo photos.
- A small phone stand that folds flat into a pocket. Perfect for café tables and ledges.
- A hair tie or rubber band. Strap the phone to a water bottle or a thick book for an instant stand.
- A grippy case. A smooth case slides off everything; a rubbery one stays put.
Angles and heights
| Lens height | Best for | Watch out for |
|---|---|---|
| Ground level | Drama, long legs, big skies | Looking up nostrils at close range |
| Waist to chest | Full-length photos, outfits | Tilting the phone, which bends straight lines |
| Eye level | Portraits from the waist up, café shots | Shortens legs in full-length shots |
| Above eye level | Groups, flat lays, seated poses | Makes people look small and short |
Whatever the height, try to keep the phone upright and level rather than tilted up or down. Tilting makes walls and door frames lean. If you need to see more, raise or lower the phone instead of tilting it, or step back and use a wider lens.
Straighten it before you walk away
A wonky horizon is the number one giveaway of a propped phone. Fix it before the shoot, not after:
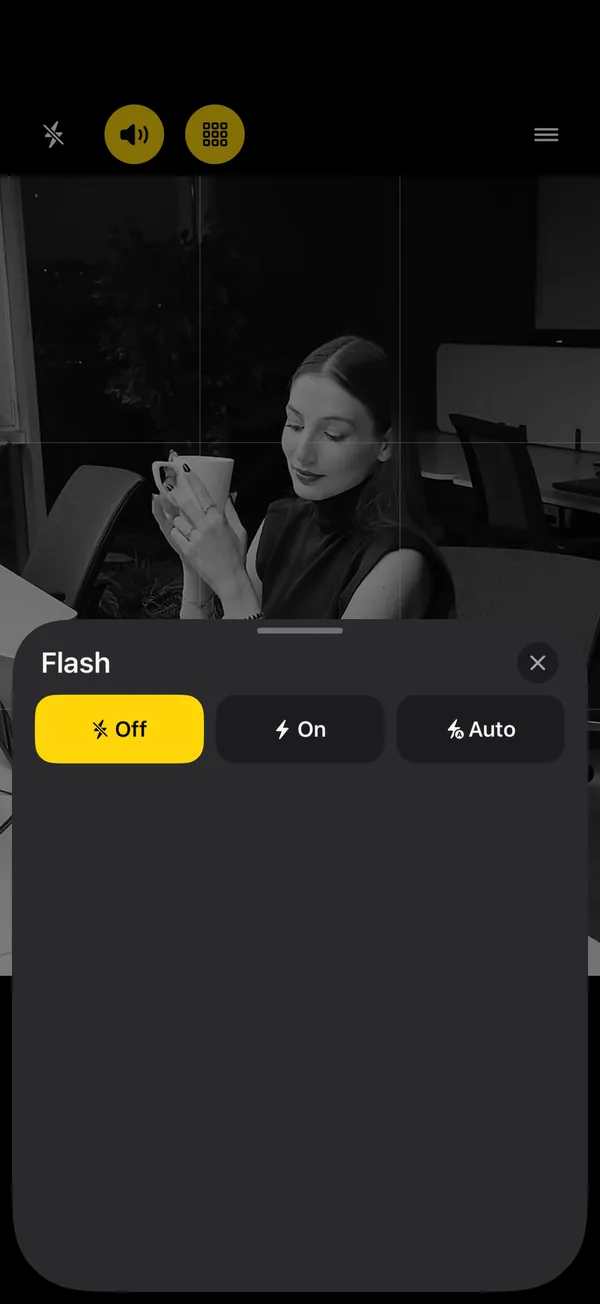
- Turn on the grid and the level guide. In SHOOTS: the Viewfinder button on the camera screen (Grid, Level), or Settings, then Framing, then Rule-of-thirds grid and Level guide. The horizon line lights up when the phone is level. (The iPhone Camera app has a Grid and Level setting too, under Settings, Camera.)
- Shim it. Slide a folded napkin, a coin or a receipt under one corner until the line lights up.
- Frame with room to spare. Space above your head and below your feet. You can crop later.
- Lock focus. Tap where you’ll stand, then touch and hold to lock focus and exposure.
- Give yourself time. A 10 second Photoshoot start is enough to walk five or six steps and settle. Or don’t race at all: turn on Hands-free start and raise your palm (or say “Cheese”) once you’re in place.
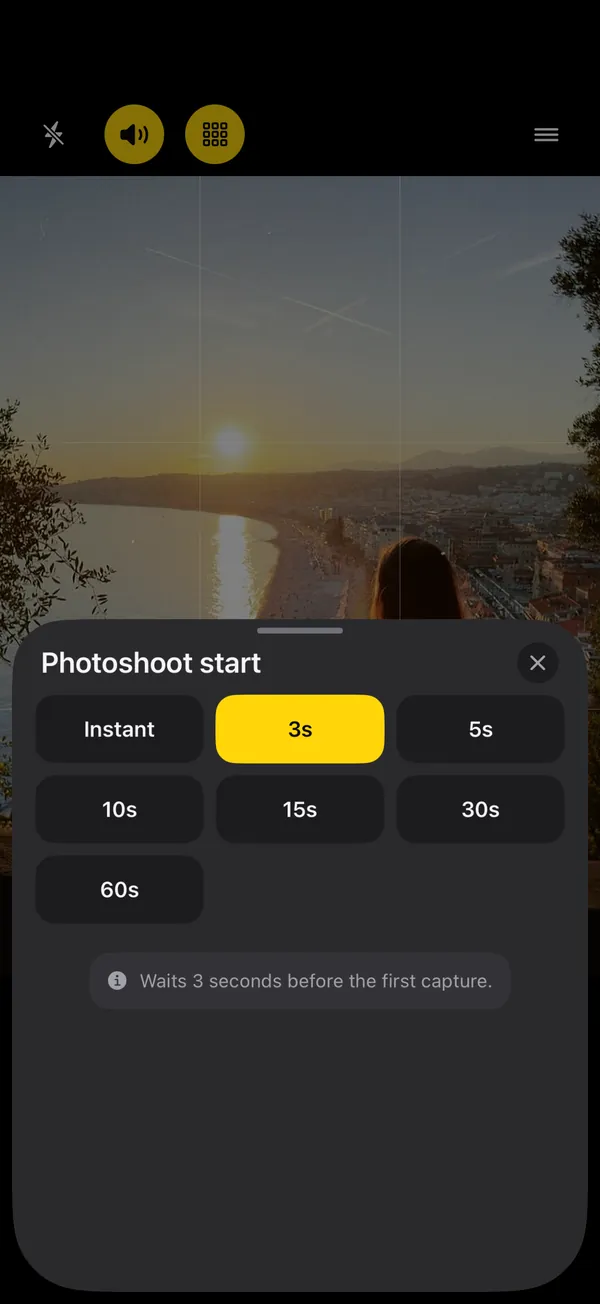
- Photoshoot start
- 10 s
- Timer mode
- every 3 s
- Photo limit
- 25 photos
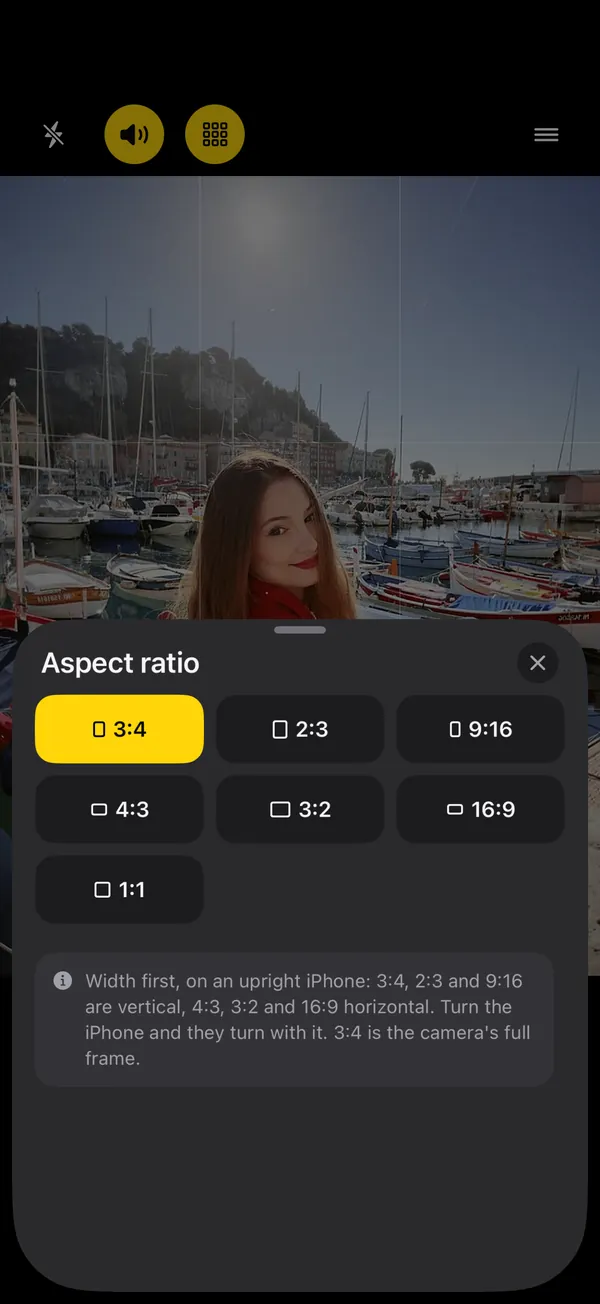
- Aspect ratio
- 3:4
- Countdown beeps
- On
With a 3 second interval the phone keeps shooting while you change pose, so you only walk back once. With a hands-free start, you don’t even walk back for take two: the less you touch a propped phone, the less it moves. The full setup for your first shoot is in How to take good photos of yourself when no one’s around.
Keep your phone safe
- The wobble test. Tap the surface next to the phone. If it moves, it’s not ready.
- Wind. Outdoors, a phone standing upright is a small sail. Lay it lower or wedge it harder.
- Edges. Never over water, a drop, a road or a busy path.
- Sand, water, spilled drinks. Use your bag as a buffer.
- Sun and heat. A phone on a hot wall or a car in summer heats up fast. SHOOTS pauses the shoot if the iPhone overheats and continues when it cools, but shade is kinder to your battery.
- People and pets. Pick quiet spots, stay within a few steps, and keep the phone in sight. An Apple Watch or a second iPhone lets you start and stop the shoot without leaving your spot: see the Apple Watch camera remote guide.
The best tripod is the one you’re already sitting next to.
Traveling? Our solo travel photos guide has more on choosing safe spots. Shooting a group? The phone goes higher: see How to take a group photo with everyone in it. And when the shoot is done, turn the keepers into a carousel with DUMP and clear the rest with Solo.Swipe.
Questions people ask
How can I prop up my phone to take a picture without a tripod?
How do I stop my phone from falling over when I prop it up?
What can I use as a phone stand at home?
What angle is best for full-body photos with a propped phone?
How do I keep the horizon straight without a tripod?
Gül Eda Aydemir is the independent iOS developer behind SHOOTS, DUMP and Solo.Swipe. She designs, builds and answers support for every app herself. Say hi at solostaseraofficial@gmail.com.
Prop up your iPhone, step into frame and let SHOOTS run the whole photoshoot.
Download on theApp Store
On a computer?Scan with your iPhone camera
Keep reading
How to take good photos of yourself when no one's around
No tripod, no friend, no stranger you have to trust with your phone. Just a ledge, a timer and a plan.
Gül Eda Aydemir · 6 min read
How to take more than one photo on an iPhone timer (and space them out)
Apple’s timer counts down and shoots one moment. Here’s how to squeeze more out of it, and when to switch to an interval camera.
Gül Eda Aydemir · 7 min read
How to start a photoshoot without touching your phone
The worst part of a timer shot is the sprint from the phone to your spot. Here are all the ways to skip it, with Apple’s Camera and with SHOOTS.
Gül Eda Aydemir · 7 min read