Guide · Travel
Solo travel photos: how to get great pictures of yourself on a trip
You came all this way. You deserve at least one photo that isn’t an arm’s-length selfie.
 By Gül Eda Aydemir6 min read
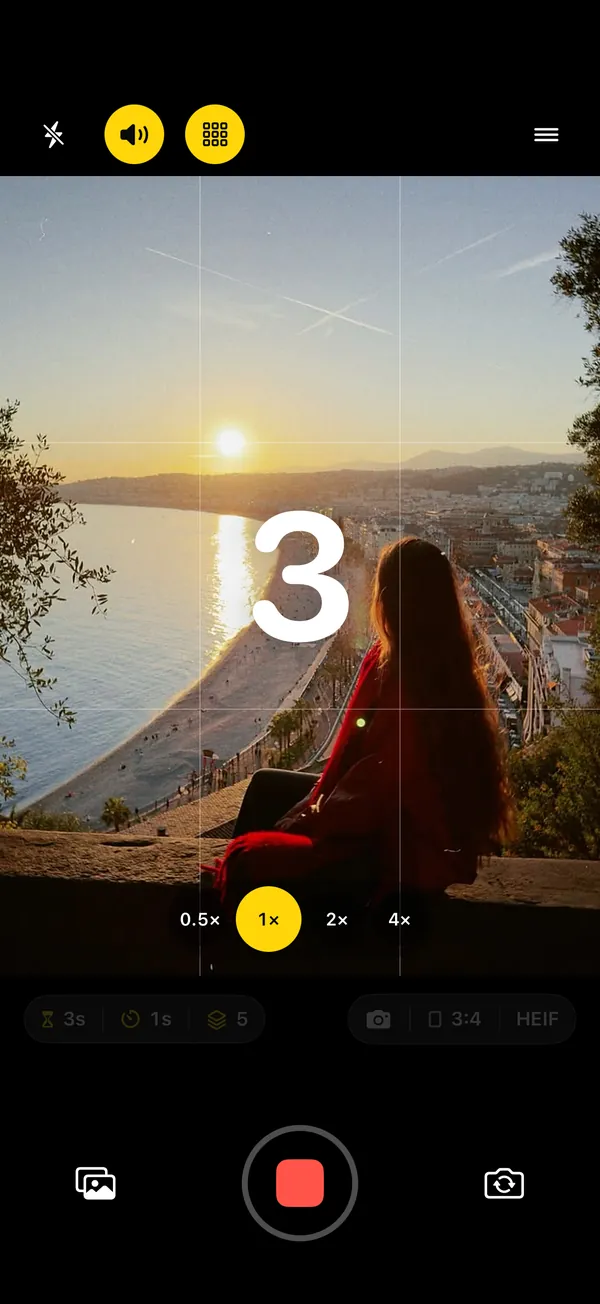
- Safety first: only leave your phone where you can reach it in a couple of steps, wedged so it can’t slide, never over water or a drop.
- Go early: mornings are emptier and the light is kinder.
- Prop it at chest height and frame wider than you think, so the place is in the photo, not just you.
- Let it shoot a series: 10 s start delay, a photo every 3 s, 25 photos. Use 1 s for walking shots.
- Back at your room, save the keepers to Photos, post a carousel, and delete the rest.
Solo travel is the best way to see a place and the worst way to end up in any photos of it. You come home with 600 pictures of buildings, three blurry selfies and one photo a stranger took with your thumb in the corner. This guide fixes that, without asking anyone for anything.
It works with any timer camera. We’ll use the settings from SHOOTS, the hands-free camera we make, because a trip is exactly what it was built for.
1. Keep your phone safe (the real question)
Everyone’s first worry is the same: “I’m not leaving my phone on a wall and walking away.” Fair. Here’s how to do it sensibly:
- Stay within a few steps. You rarely need to be far away. Switch to the 0.5× lens to fit you and the place in frame from two or three steps away. (Keep yourself near the middle: ultra-wide lenses stretch things near the edges.)
- Pick quiet spots, at quiet times. A side street, a corner of the viewpoint, a staircase, rather than the middle of the main walkway at noon.
- Never prop it over water, a drop or traffic. One gust or one bump and it’s gone. Wedge it against something, or lay it on your bag so it can’t slide.
- Keep it in your line of sight. Interval shooting helps here: you’re facing the camera anyway, so you see anyone who gets close.
- Use your Apple Watch. Start the shoot from where you’re standing, and stop it the second someone walks up. More in our Apple Watch camera remote guide.
- No Watch? Start it with your hand. In SHOOTS, turn on Hands-free start and raise your open palm to the camera from your spot (or say “Cheese”). Take two never needs a walk back to the phone. More in How to start a photoshoot hands-free.
- Trust your gut. If a spot feels busy or off, take a selfie there and do the full shoot somewhere calmer.
2. Find the spot
The best solo travel photos say where as clearly as who. Some spots that work almost everywhere:
- Viewpoints with a wall or railing. Prop the phone on the wall, stand a few steps along it, and let the view fill the background.
- Doorways and colorful facades. A great door is a frame inside the frame. Stand in it or lean on it.
- Stairs and steps. Sit on them, walk down them, look up from them. Steps are also built-in tripods.
- Narrow streets. Put the phone low at one end and walk toward it on a 1 second interval.
- Café tables. Lean the phone against a glass or a sugar jar and shoot yourself across the table, coffee in hand.
- Beaches and lakes. Prop on your bag, not on the sand, and keep the horizon level.
For a landmark, don’t stand dead center in front of it. Step to one side so you sit on a rule-of-thirds line and the landmark stays recognizable on the other. And leave space around you: you can crop later, you can’t add.
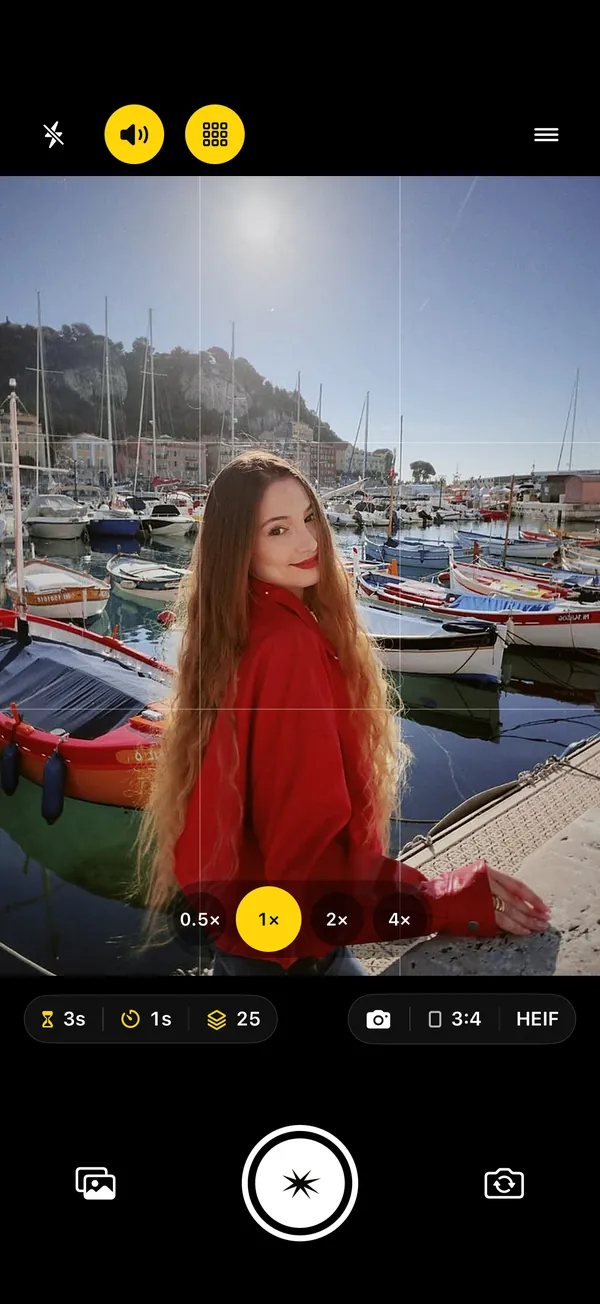
3. Make the light work
- Golden hour, the hour after sunrise and before sunset, flatters people and places alike.
- Overcast days are secretly great for portraits: soft, even light, no squinting.
- Harsh midday sun? Find open shade, a covered arcade or the shady side of the street.
- Sunset behind you makes a silhouette. Lovely if that’s the plan; if not, turn so the sun hits your face from the side.
- At night, use the flash on purpose. Flash On, close to the camera, gives you the hard-edged, early-2000s red-carpet look. See Be your own paparazzi.
4. The settings for each kind of travel shot
| Shot | Photoshoot start | Timer mode | Photo limit |
|---|---|---|---|
| Landmark portrait | 10 s | 3 s | 25 |
| Walking down a street | 15 s | 1 s | 25 |
| Café table | 5 s | 5 s | 10 |
| Sunset, light changing | 10 s | 30 s | 25 |
| Jump, spin, hair in the wind | 10 s | Burst, 100 ms (SHOOTS+) | 25 |
- Photoshoot start
- 10 s
- Timer mode
- every 3 s
- Photo limit
- 25 photos
- Aspect ratio
- 3:4
- Announcements
- On
- Save captures to
- Both
Announcements tell you out loud when the shoot starts and when it’s done, so you’re never guessing whether the phone is still going. Want direction as well? With SHOOTS+, turn on Talk to me: the Pose coach calls your next pose between shots for how you’re framed (“Turn your shoulder toward me.”, “Now walk toward me.”), compliments throw in lines like “Okay, Hollywood, I see you!”, or choose both. Strangers will look. Let them.
5. What’s worth packing
- A mini tripod or phone clamp. Not essential, but it turns railings, branches and café chairs into tripods. Our no-tripod guide covers the alternatives.
- A power bank. SHOOTS keeps the screen awake during a shoot, and that uses battery. It warns you when the battery runs low, and it pauses the shoot if the iPhone gets too hot (a sunny wall in summer will do it), then carries on when it cools.
- Free storage. SHOOTS warns when you’re under about 1 GB free. Clear space before the trip, not at the viewpoint.
- An Apple Watch, if you have one. It’s the difference between walking back to the phone ten times and never leaving your spot. No Watch? The raised-palm start does the same job for free.
6. Poses that read as travel
Travel photos look best when you’re doing something in the place, not standing in front of it:
- Look at the view, not the lens. Turn back toward the camera on every few frames.
- Walk toward the phone, or away from it and glance back over your shoulder.
- Sit on the steps, the wall, the edge of the fountain.
- Hold something: a coffee, a map, a gelato, your hat.
- Change something small on every frame. With a 3 second interval you have just enough time.
Need more ideas? Run through 12 poses that work on a self-timer.
You don’t need a stranger. You need a wall, a timer and a little nerve.
7. Back at your room: keep, post, clean
Do it the same evening, while you remember which pose felt right. Each shoot sits in the SHOOTS gallery as its own album, and in Photos as an album named like “SHOOTS - 22/10/26 14:05”. Heart two or three favorites, drag across the misses to select and delete them (they wait in Trash for 30 days). Then turn the day into a carousel with DUMP, and when you’re home, sweep the trip out of your camera roll with Solo.Swipe.

First time shooting yourself? The basics are in How to take good photos of yourself when no one’s around.
Questions people ask
How do I take photos of myself when traveling alone?
Is it safe to leave my phone on a ledge to take a photo?
What’s the best time of day for solo travel photos?
Do I need a tripod for solo travel photos?
How do I keep strangers out of my travel photos?
Gül Eda Aydemir is the independent iOS developer behind SHOOTS, DUMP and Solo.Swipe. She designs, builds and answers support for every app herself. Say hi at solostaseraofficial@gmail.com.
Prop up your iPhone, step into frame and let SHOOTS run the whole photoshoot.
Download on theApp Store
On a computer?Scan with your iPhone camera
Keep reading
How to take good photos of yourself when no one's around
No tripod, no friend, no stranger you have to trust with your phone. Just a ledge, a timer and a plan.
Gül Eda Aydemir · 6 min read
How to take more than one photo on an iPhone timer (and space them out)
Apple’s timer counts down and shoots one moment. Here’s how to squeeze more out of it, and when to switch to an interval camera.
Gül Eda Aydemir · 7 min read
How to start a photoshoot without touching your phone
The worst part of a timer shot is the sprint from the phone to your spot. Here are all the ways to skip it, with Apple’s Camera and with SHOOTS.
Gül Eda Aydemir · 7 min read