Journal · Camera roll routine
Shoot it, DUMP it, swipe the rest: my 3-app camera roll routine
Twenty-five photos in, one carousel out, and a camera roll that doesn't make me sigh. The whole routine, from shutter to post.
 By Gül Eda, xoxo5 min read
Hi, it's Gül Eda. Quick confession before we start: I make all three of the apps in this post, so take my enthusiasm with a pinch of salt. But this really is the routine I'd hand a friend who says "I take so many photos and never post any of them."
Because that's the strange thing about a solo photoshoot. It's a success that creates a problem. You walk away with 25, 50, sometimes 100 photos of the same ten minutes, and maybe three you'd show anyone. If you don't deal with them the same day, they sink into the camera roll between receipts and screenshots, and nobody ever sees them. Ask me how I know.
So here's the whole thing, in four steps: shoot it, pick it, dump it, swipe the rest.
1. Shoot it (SHOOTS)
Prop the phone, set the timer, step into frame, pose. My default is a 10 second start, a photo every 3 seconds and 25 photos, then a second round at one photo a second for movement. I wrote up my exact settings for a 10-minute shoot if you want to copy them, and if you've never shot yourself before, start with how to take good photos of yourself alone.
One setting matters a lot for this routine: Settings → Storage → Save captures to. You can choose App Only, Camera Roll or Both. I like App Only while I shoot, because a 25-photo round doesn't pour 25 near-identical photos into my camera roll. Only the ones I choose make it out.
2. Pick the keepers (still in SHOOTS)
- Open the shoot. Every photoshoot lands in the gallery as its own album, sorted under Today, Yesterday and so on, so I'm looking at one session instead of my whole life.
- Heart the favorites. Open a photo full screen and tap the heart. Hearted photos also collect in the Favorites album, which is handy when I'm picking across a few shoots.
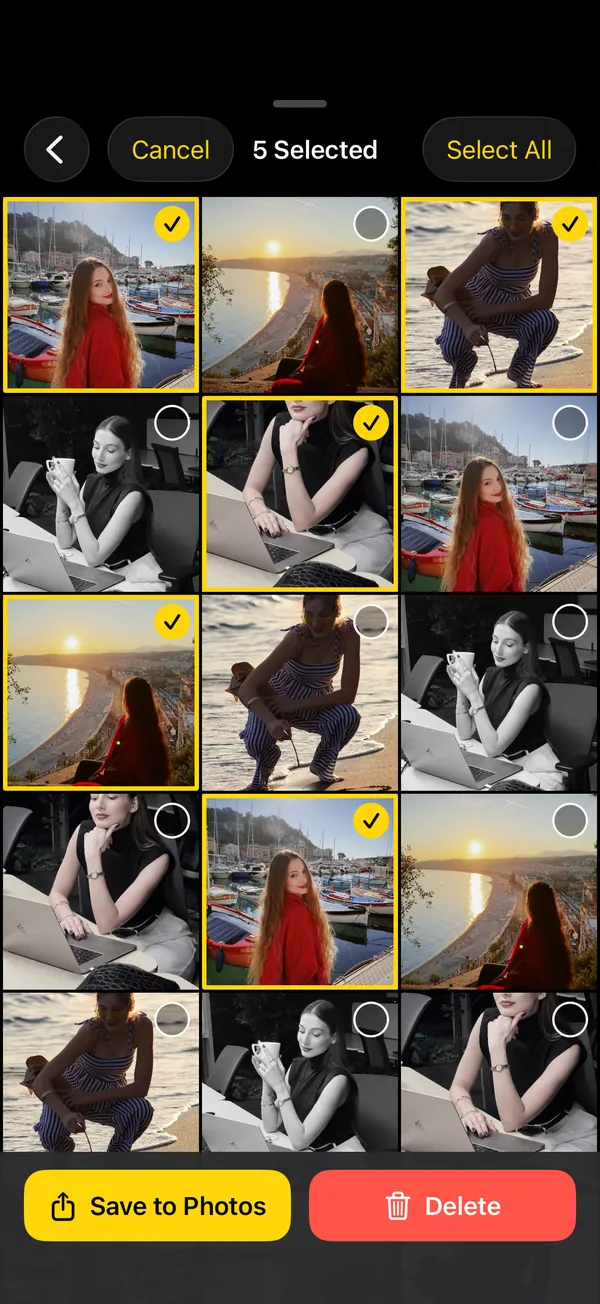
- Drag to select the misses. Tap the ⋯ menu and choose Select, then drag a finger across the thumbnails to grab a whole run at once, and tap Delete. Blinks, half-turns, the one where I'm squinting at the phone to check it's still shooting: gone.
- Save the keepers to Photos. Select them and tap Save to Photos. SHOOTS puts each shoot in its own album, named like "SHOOTS - 22/10/26 14:05", which makes the next step easy.
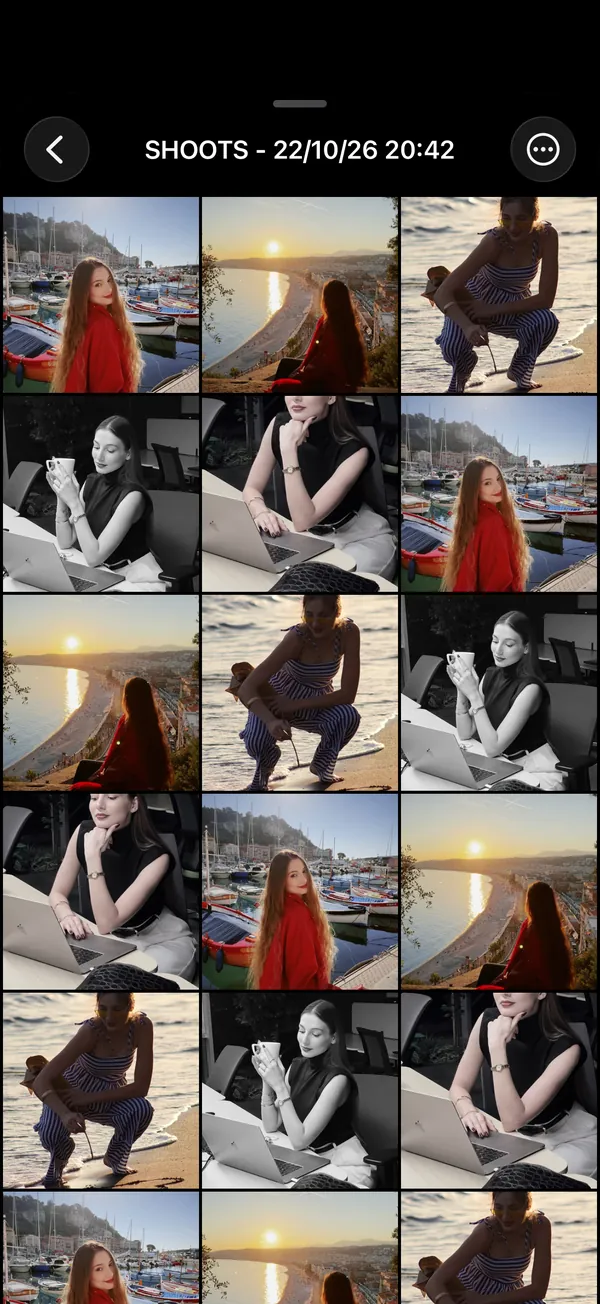
Deleted photos aren't gone yet, by the way. They wait in Trash (you'll find it in Settings) for 30 days, so a ruthless mood on day one is perfectly safe.
3. DUMP it
This is the step where my photos used to go to die. Picking six frames out of twenty-five near-twins, putting them in order, deciding which one is the cover: that's the part that makes a post three weeks late. DUMP does the first pass for me.
- Open DUMP from the gallery. In the SHOOTS gallery there's a card that says "Turn a shoot into a DUMP". Tap it and DUMP opens straight on a new dump (or on its App Store page, if you don't have it yet).
- Point it at the shoot. Choose where the photos come from: Favorites, one album or your whole library. I pick the "SHOOTS - …" album from step 2.
- Let Smart Dump choose. It looks for the sharpest, most varied shots, right on the iPhone, skips the blurry ones and burst near-duplicates, and puts the carousel in the order things happened.
- Swap and reorder. I always choose the first slide myself. It's the cover; it deserves a human decision. Collages, grids and seamless panoramas are there for the days a plain carousel isn't enough.
- Save it in posting order. DUMP saves the originals to a new Photos album in the order you'll post them. In Instagram I pick that album, tap the slides in order, post. Done.

4. Swipe the rest (Solo.Swipe)
Here's the part nobody posts about. Even with SHOOTS on App Only, the camera roll fills up with everything else: screenshots, parking-spot photos, eleven pictures of the same menu. Solo.Swipe is how I stop that from turning into 4,000 forgotten photos.
- Swipe left to delete, right to keep, up to file a photo into an album, down to skip.
- It's built for five-minute sessions, which is about how long my attention span for cleaning lasts. Small, daily, done.
- What you delete goes to the iPhone's Recently Deleted album for 30 days, so nothing disappears on a whim.
Inside SHOOTS, the "Clean up with Solo.Swipe" card lives in the Trash, which felt like the right place for it.

My rhythm
| When | What | App |
|---|---|---|
| The shoot | Two rounds, 25 photos each | SHOOTS |
| Right after | Heart, drag-select, delete, save keepers to Photos | SHOOTS |
| Same evening | Build the carousel, save it in posting order, post | DUMP |
| Most days | Five minutes of swiping through the camera roll | Solo.Swipe |
The rule that makes it work is same day. Picking keepers while I still remember which pose felt good takes five minutes. A week later it takes forty, and honestly, I don't do it.
Shoot like nobody's watching. Post like you planned it. Delete like it's therapy.
Do you need all three?
No. Each app works fine on its own. But they were made to hand off to each other, and if you photograph yourself a lot (outfits, trips, the occasional "I look nice today, let's document it"), the trio means your best photos actually get posted and the rest stop haunting your storage. It works the same on the road; my tips for that are in solo travel photos.
And if you need a pose plan for step 1, steal one from 12 poses that work on a self-timer.
Questions people ask
Does SHOOTS send my photos to DUMP automatically?
Will Solo.Swipe delete photos inside SHOOTS?
Do I need an account for any of these apps?
Gül Eda Aydemir is the independent iOS developer behind SHOOTS, DUMP and Solo.Swipe. She designs, builds and answers support for every app herself. Say hi at solostaseraofficial@gmail.com.
Prop up your iPhone, step into frame and let SHOOTS run the whole photoshoot.
Download on theApp Store
On a computer?Scan with your iPhone camera
Keep reading
Be your own paparazzi: why the 2000s flash photo is back, and how to shoot it alone
Hard flash, a background gone black, a glint off your sunglasses. The red-carpet photo never needed a red carpet. It just needed someone to fire the flash, and that someone can be your iPhone.
SHOOTS Journal · 7 min read
Never run out of poses
Every photographer has a running script: chin down, turn, walk to me, laugh. Now your propped-up iPhone has one too.
SHOOTS Journal · 5 min read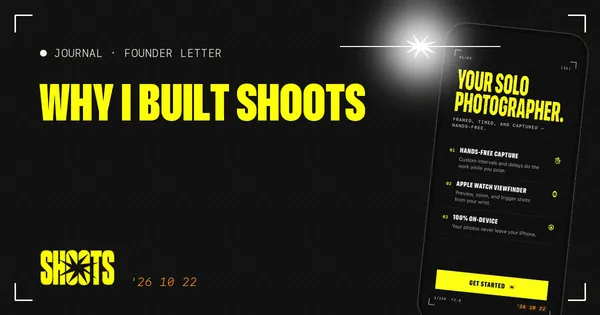
Why I built SHOOTS
Because nobody should have to choose between being in the photo and taking it.
Gül Eda, xoxo · 6 min read